Do you have a piece of furniture that’s looking a little worse for wear? Instead of shelling out big bucks for a professional repair, why not try tackling the job yourself? With a little bit of know-how and elbow grease, you can easily breathe new life into your beloved furnishings. In this article, we’ll share some simple yet effective DIY tips to help you fix your furniture like a pro. So roll up your sleeves and get ready to unleash your inner handyman!

Tips for Easy Furniture DIY Projects
Looking to spruce up your home with some new furniture but don’t want to break the bank? With a little creativity and elbow grease, you can tackle some easy furniture DIY projects that will give your space a fresh new look. Here are some tips to help you get started:
- Start with a plan: Before diving into your DIY project, take the time to sketch out your ideas and measurements. This will help ensure that your finished piece fits perfectly in your space.
- Use quality materials: While it may be tempting to skimp on materials to save money, investing in quality wood and hardware will ensure that your finished piece is durable and long-lasting.
- Get the right tools: Having the right tools for the job can make all the difference in the success of your project. Make sure you have a good saw, drill, and sandpaper on hand.
- Don’t be afraid to get creative: DIY projects are the perfect opportunity to let your creativity shine. Don’t be afraid to experiment with different finishes, paint colors, or hardware to make your piece uniquely yours.
With these tips in mind, you’ll be well on your way to creating beautiful custom furniture pieces for your home. Happy DIY-ing!
Simple Tools for Successful Furniture Repairs
When it comes to furniture repairs, having the right tools can make all the difference. With a few simple tools, you can easily tackle various repairs and maintenance tasks around your home. Here are some essential tools that every DIY enthusiast should have in their toolkit:
- Screwdriver Set: A good quality screwdriver set with various sizes and types of screwdrivers is essential for assembling and disassembling furniture.
- Hammer: A hammer is a versatile tool that can be used for tasks such as tapping in nails, repairing loose joints, and adjusting furniture.
- Wood Glue: Wood glue is a must-have for repairing loose joints and cracks in wooden furniture.
- Sandpaper: Sandpaper comes in handy for smoothing rough edges, removing old paint or finish, and preparing surfaces for painting or staining.
With these simple tools at your disposal, you can easily tackle common furniture repairs and maintenance tasks without the need to call in a professional. By taking a hands-on approach, you can save money and learn new skills along the way. So roll up your sleeves, grab your tools, and get ready to tackle those furniture repair projects with confidence!
Creative Ways to Revamp Old Furniture Pieces
Looking to add a personal touch to your home decor? Why not try revamping old furniture pieces with some creative DIY projects? With a little time and effort, you can give new life to old items and create unique pieces that reflect your style.
One easy way to revamp old furniture is to give it a fresh coat of paint. Choose a vibrant color or a trendy neutral shade to instantly update the look of a tired piece. You can also add stenciled designs or patterns for a fun and customized touch. Don’t be afraid to experiment with different paint techniques like distressing or layering for a more rustic or vintage look.
Another fun DIY project is to reupholster old chairs or sofas. Pick a stylish fabric that matches your decor and get to work stapling and tucking until you have a like-new piece. You can also add decorative elements like buttons or nailhead trim for an extra special touch. Don’t forget to give the frame a fresh coat of paint or stain to complete the makeover. With a little creativity and some basic tools, you can transform outdated furniture into stylish statement pieces for your home.
Step-by-Step Guide to Restoring Wooden Furniture
Restoring wooden furniture can be a fun and rewarding DIY project that breathes new life into old pieces. Follow these easy steps to bring your wooden furniture back to its former glory:
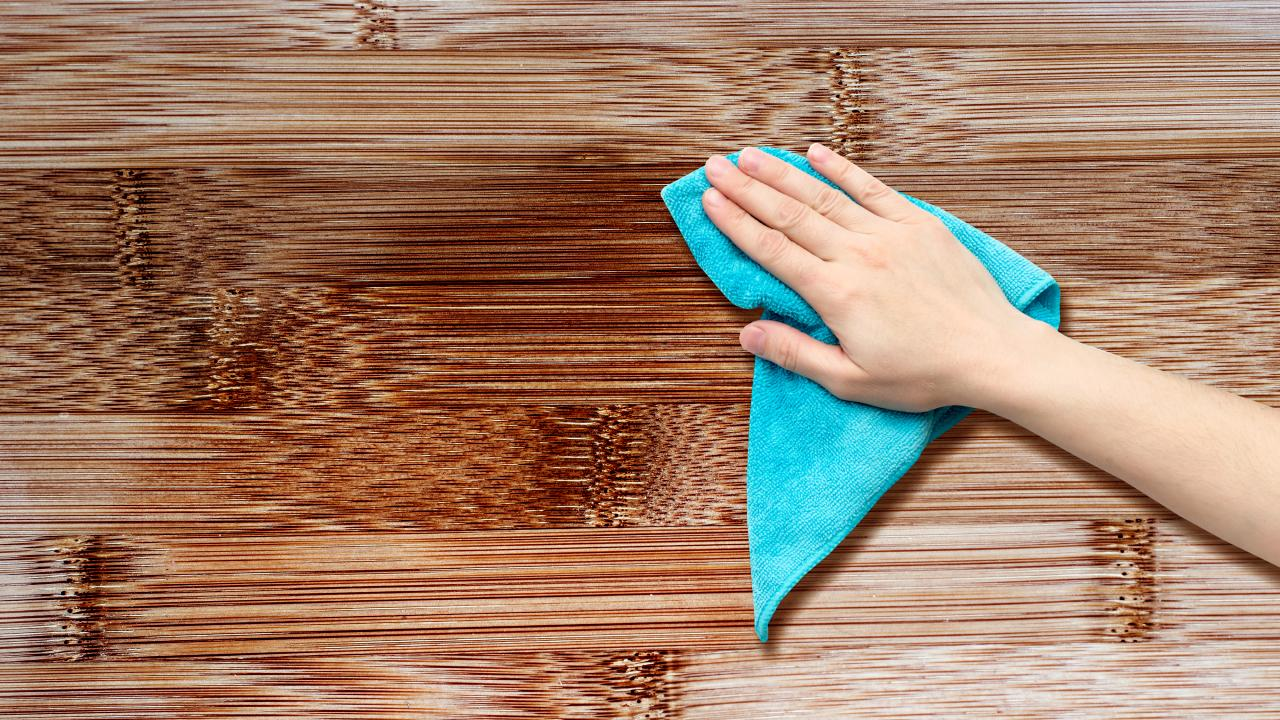
- Clean the Surface: Start by removing any dust, dirt, or grime from the furniture using a gentle cleaner and a soft cloth.
- Repair any Damage: Fill in any cracks, scratches, or dents with wood filler and sand the area smooth once it’s dry.
- Sand the Surface: Use a fine-grit sandpaper to sand the entire surface of the furniture to remove any old finish and smooth out imperfections.
- Apply the Finish: Choose a stain or paint color that complements the furniture and apply it evenly with a brush or cloth. Allow it to dry completely before applying a protective finish.
With a little time and effort, you can transform your old wooden furniture into a beautiful and functional piece that you’ll be proud to display in your home.
With these easy furniture DIY tips, you’ll be well on your way to transforming your space with your own personal touch. Don’t be afraid to get creative and try out new techniques – you might just surprise yourself with what you can accomplish. Remember, the possibilities are endless when it comes to DIY furniture projects, so don’t be afraid to roll up your sleeves and get started. Happy crafting!


![Proven Tips for Prolonging Furniture’s Lifespan How Much Does Upholstery Cleaning Cost? [2023 Data] Angi, 43% OFF](https://nestingnooks.com/wp-content/uploads/2024/05/Sofa-Cleaning-17-26.jpg)

